The Zapier integration will connect to your selected app and syncronize sales with Atlass.
So let’s plug it in.
First, go to the Integrations page and click on Zapier then click on the Create new button.
The integration will generate a key that needs to be added inside Zapier for authentication.
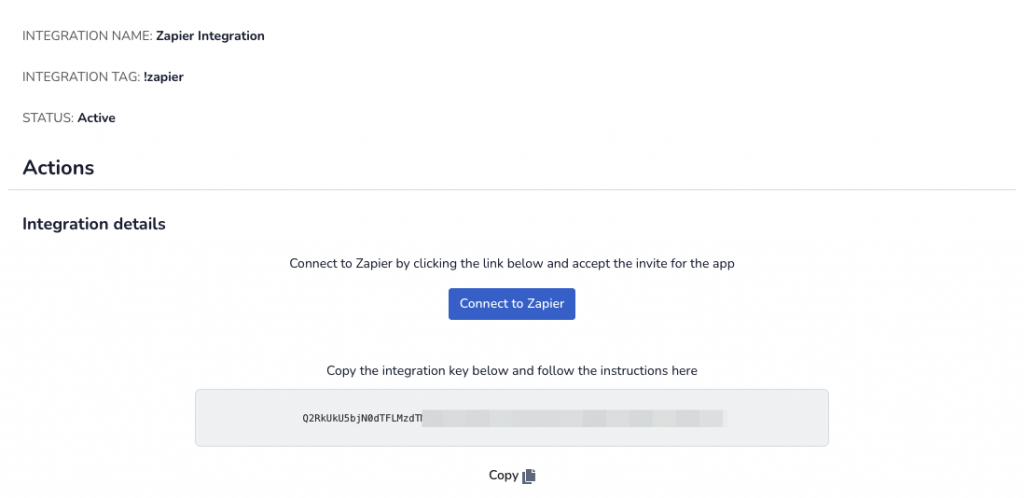
Click the Connect to Zapier button from the integration page in order to connect to the Atlass app.
Click accept then go to your dashboard page and click on Create Zap.
Under Trigger, choose the desired app you want to connect, the one that handles the orders and payments you want to send to Atlass, then choose the event to be trigger. Usually it’s new charge, new sale or new payment, depending on the app.
Then click continue.
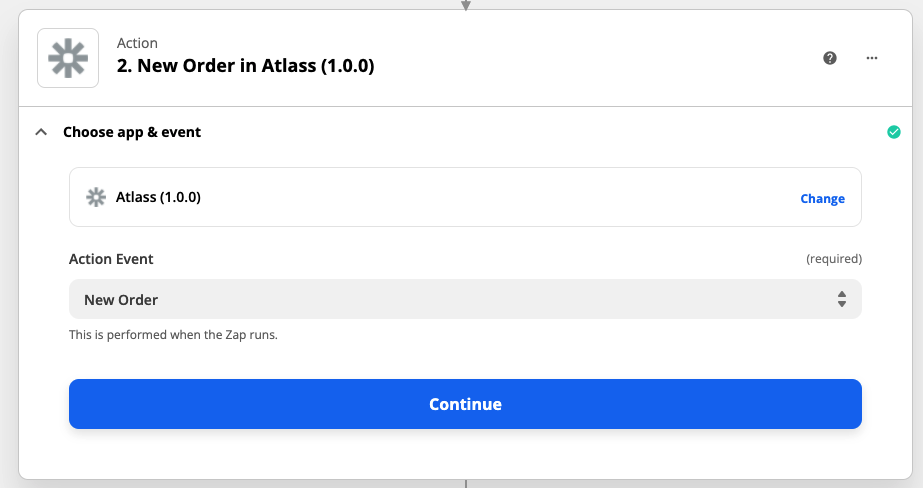
Under Action, search for Atlass and choose the event: new Order or Update Order.
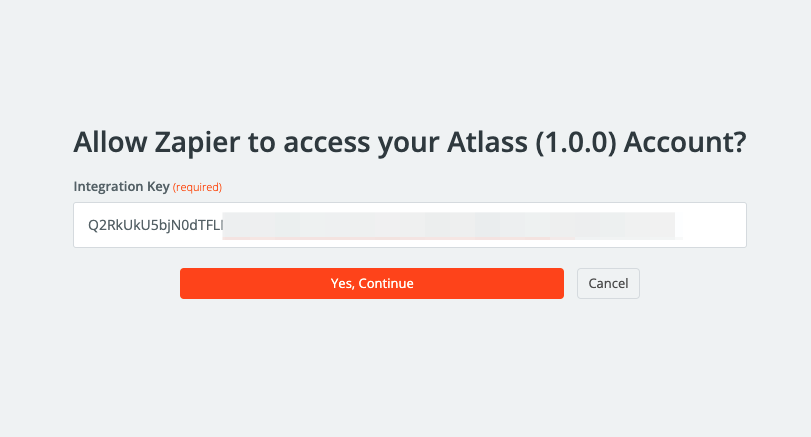
Then, you are required to authenticate. Use the integration key generated in the previous step, inside your Atlass account and add it here:
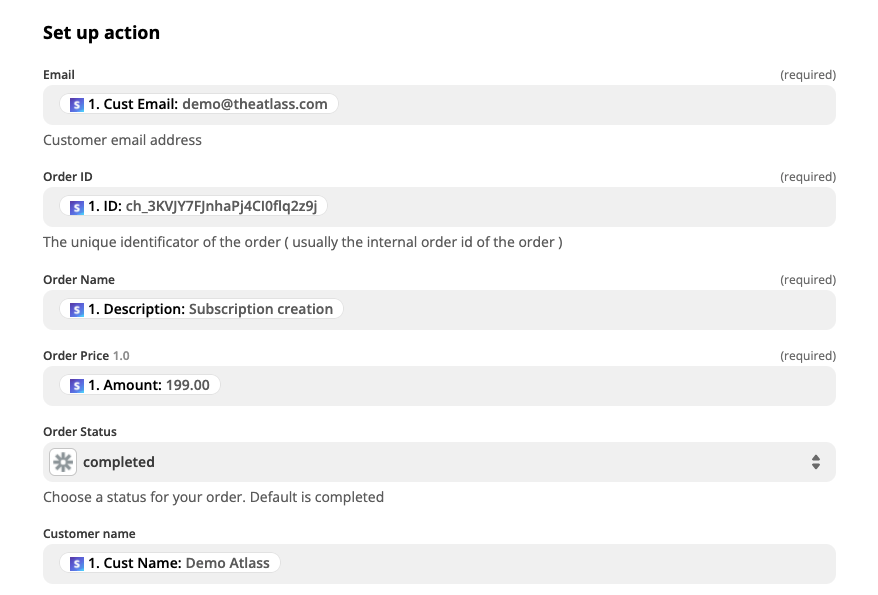
Then connect the necessary fields from the first app to Atlass. Required fields are:
- order ID ( the internal order ID from the selected app )
- order name ( can be the name of the product purchased )
- order price
In the example below, I’m gonna use Stripe, however, you can choose any app you desire:
Click continue and make sure to test the trigger.
The test sale should then be present in your Atlass account shortly.
If the test was successful, make sure to turn on the zap and save.